

Pom-Pom Stamped Bunny Tags : a Fun Last Minute Easter DIY
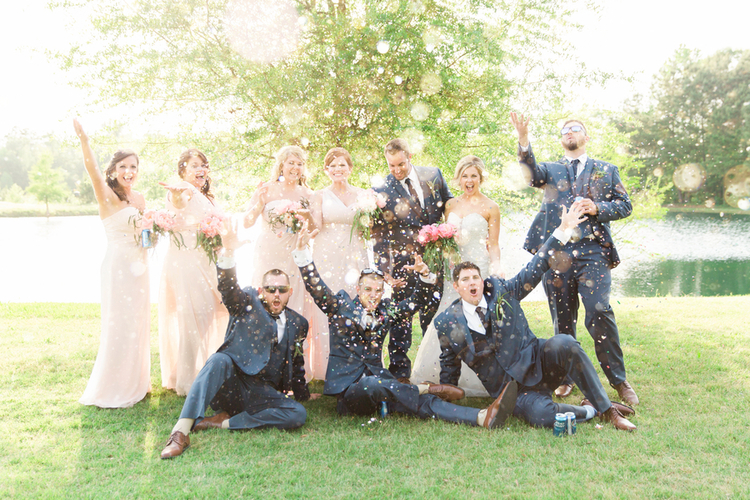
Now, I know this is a wedding blog - but I had so much fun working on this DIY project with my daughter this week that I wanted to share with you before the day ends. This idea can of course easily be swamped out with other imagery for any type of event - maybe an engagement ring with a rhinestone added for the diamond?


Supplies:
- any bunny silhouette you like {I searched online for mine}
- x-acto knife
- paint brushes
- xyron glue dots {high-tack}
- acrylic paint {white, pink + black}
- small resin frames {I found mine in the $1 bin at a local craft store}
- pom-poms {I found mine in the $1 bin at Target}
- patterned scrapbook paper of your choice


I decided to go the framed route for my bunny {for our Easter place settings} - but these can easily be made into tented place cards, gift tags, cards - the ideas are endless. Simply cut out the bunny template your selected and you're left with an empty bunny - this becomes your stencil. Select the patterned paper of your choice and trim it to fit in your frame or whichever size tag you wish to make. For my frames, I cut off the outer plastic layer so the bunny could have a puffy cottontail. Simply stamp away on top of the cut-out bunny, covering the entire area in white. Slowly lift off the stencil {the darker the paper, the better the bunny will look}. Then I added in a pink nose, a little pink in the one ear and a black eye. I added a xyron glue dot where the tail would be and attached a pom-pom to it. The hold is super strong and there's no waiting for glue to dry with these dots. I placed the finished bunny in my frame and it's now the perfect finishing touch to our Easter Sunday dinner table at my parents house. I'm now off to make more . . . hoping everyone has a wonderful weekend. See you back here on Monday.

Disclaimer: Xyron provided free products for me to sample &
craft with, but all opinions and ideas are completely my own